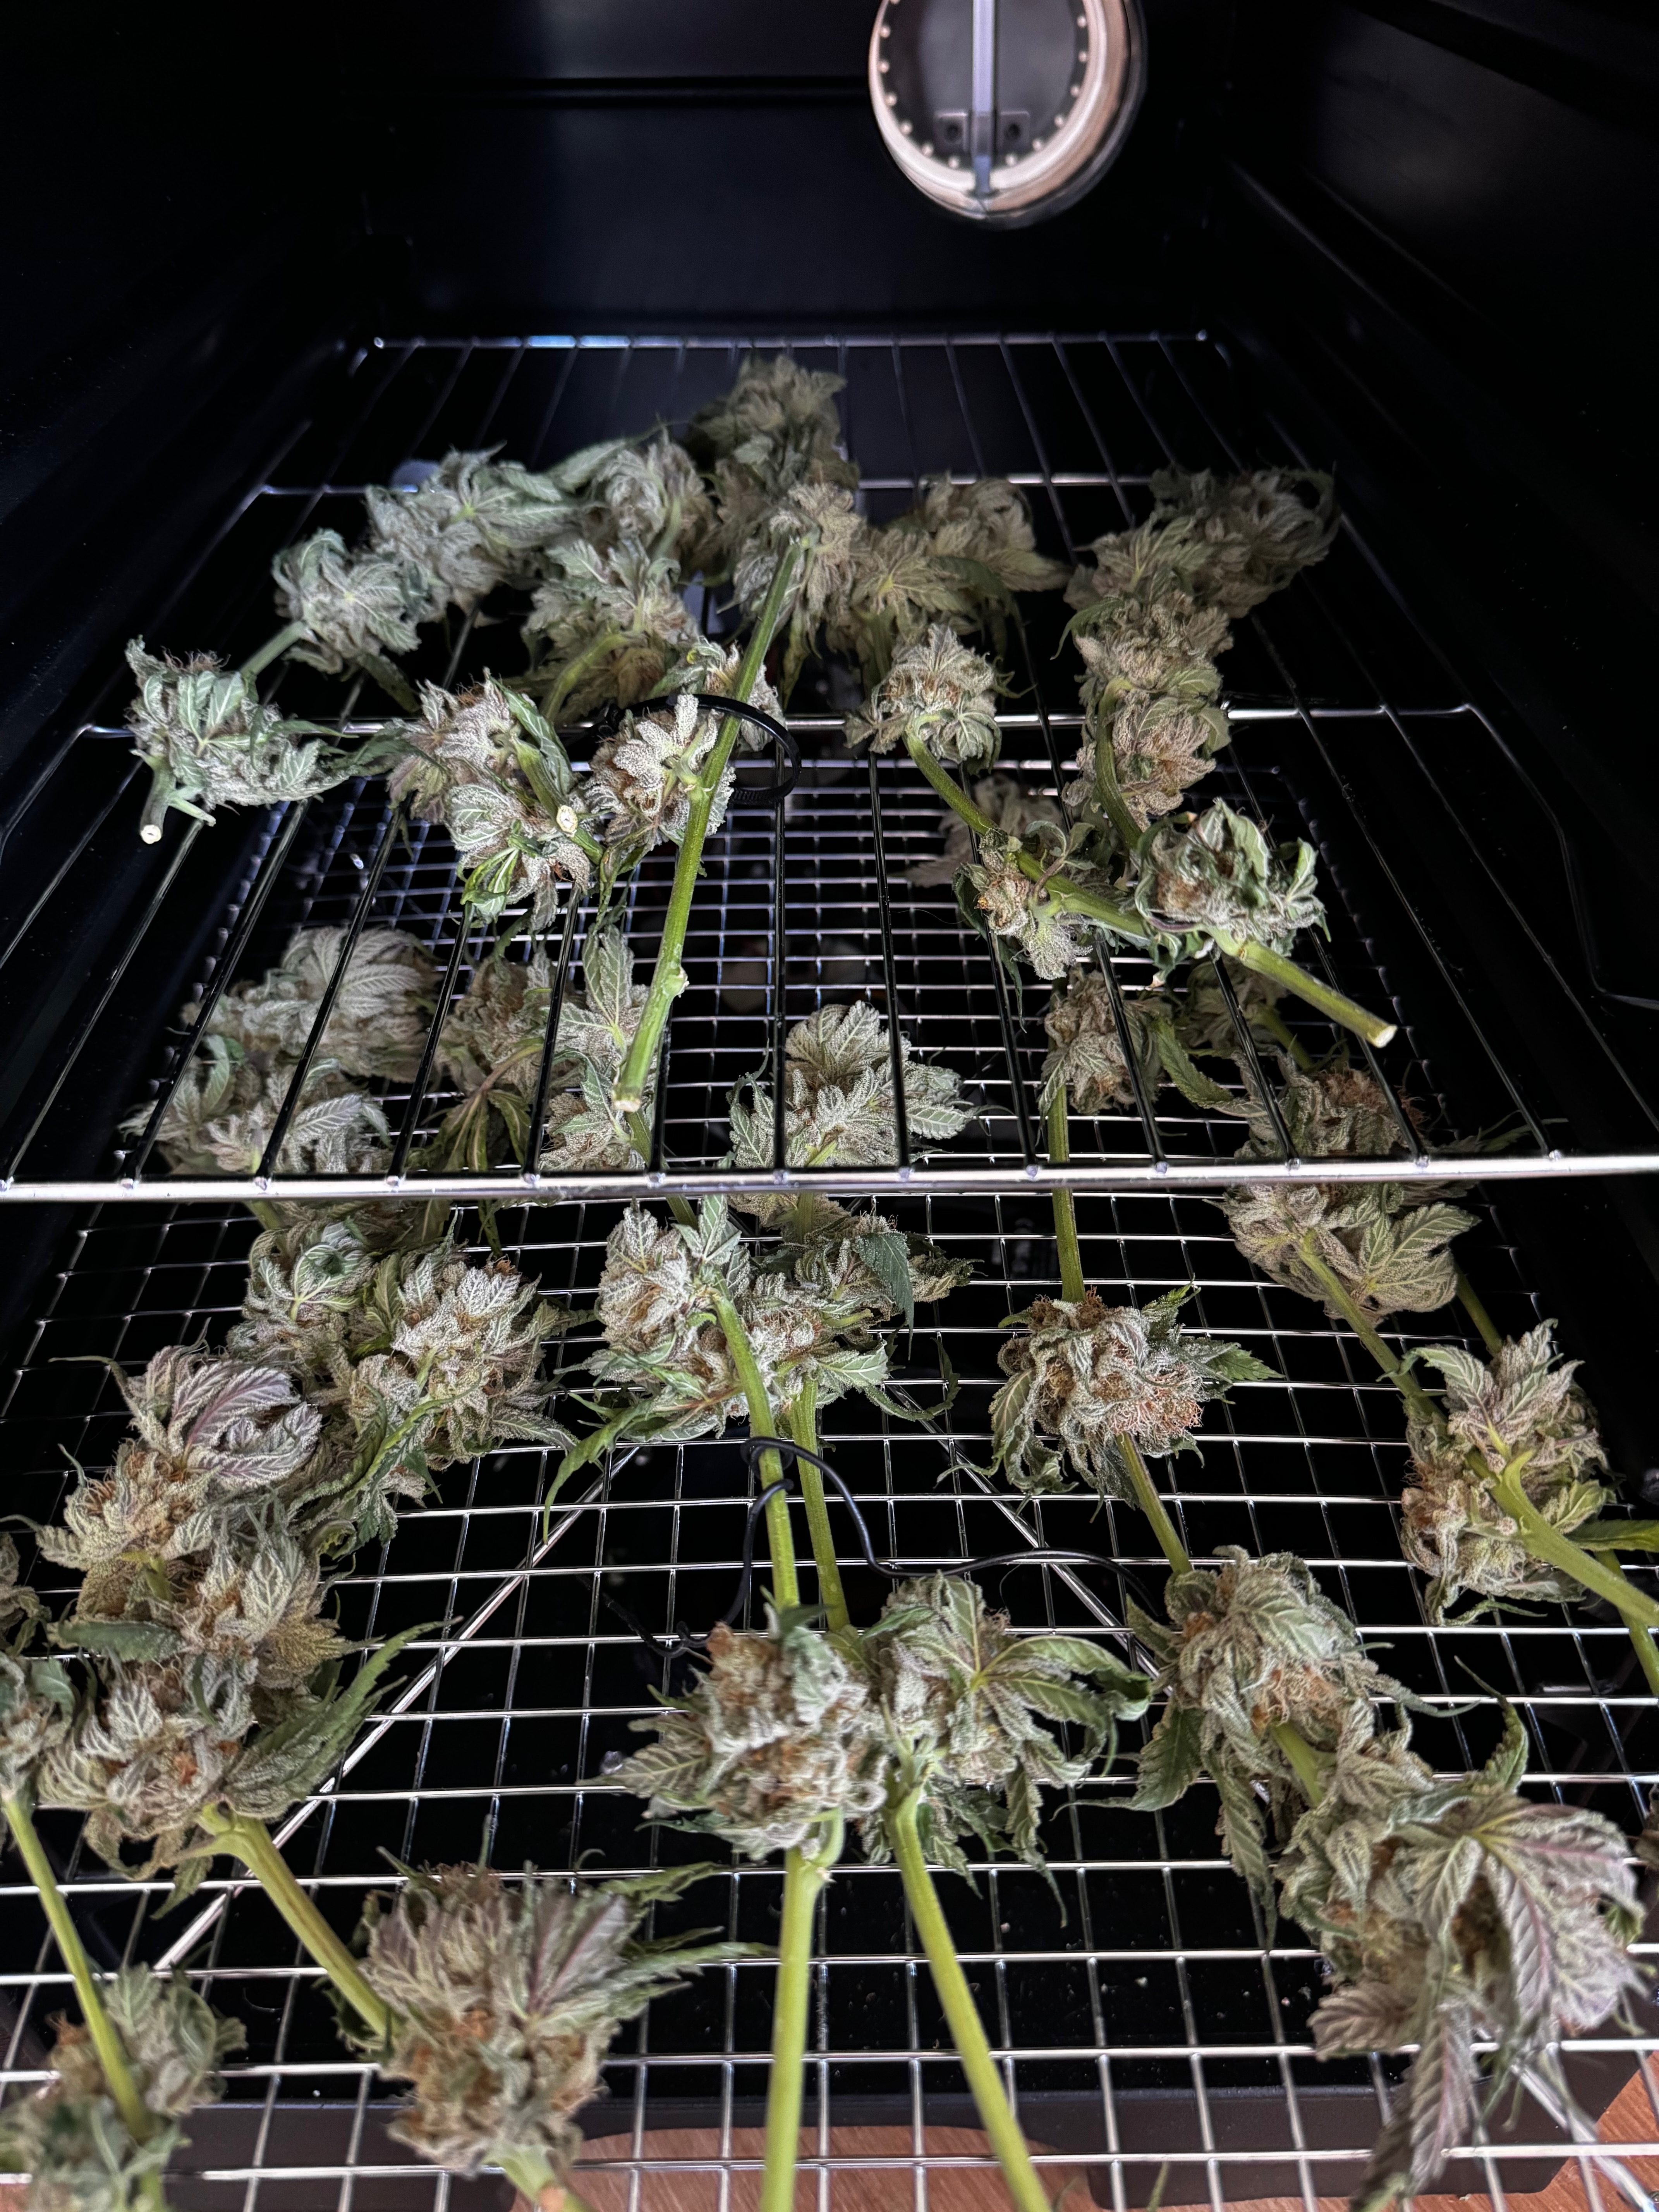
Dankubator DIY Edition

Build Your Own Professional-Grade Automated Drying Chamber

$19/month Professional Software License
~$300-400 Parts & Materials
Dankubator DIY Build Example

Why Build Your Own?

💰

Cost Effective

Build a professional-grade drying chamber for 1/3 the price of pre-built units.

🔧

Customizable

Modify and upgrade components to match your specific growing setup and needs.

🧠

Learn & Grow

Understand the technology behind automated drying and gain valuable DIY skills.

📱

Pro Software

Access the same proven algorithms and mobile app as our commercial units.

Complete Build Instructions

Overview

The overall process involves cutting holes in a food-grade hot box, attaching cooling and ventilation components, and wiring everything to a Raspberry Pi control system.

1 Cut holes in food-grade hot box
2 Attach thermoelectric cooler and fans
3 Install sensors and dampers
4 Wire to Raspberry Pi control box
5 Install Danktronix software

Parts List

You can find the complete parts list on our detailed build post. Here are the key components:

🖥️ Control System

  • Raspberry Pi (any recent model)
  • Servo/PWM hat or GPIO expansion
  • LCD screen
  • Momentary switches (3x)
  • Power switch

❄️ Cooling & Ventilation

  • Thermoelectric (Peltier) cooler module
  • 120mm outtake fan
  • Circulation fan
  • Damper for intake vent

📊 Sensors

  • SHT30 temperature/humidity sensor
  • BME280 temperature/humidity/pressure sensor

⚡ Power & Wiring

  • 12V power supply
  • 5V buck converter
  • MOSFETs (5x)
  • Resistors and wiring

Required Tools

🔧 3-inch hole saw
🔧 4-inch hole saw
🔧 Screwdriver
🔧 Drill
🔧 M4 screws
🔧 Soldering iron

Step-by-Step Build Process

Step 1: Cut Holes in Container

Bottom of Container
  • 4-inch hole towards the front for air outtake vent
  • 3-inch hole towards the back for wiring
  • Drill four pilot holes for mounting 120mm fan on the 4-inch hole
Back of Container
  • Two 3-inch holes in the middle
  • 4-inch hole near the top left

Step 2: Attach Components

  • Attach cooler module and damper to holes on the back
  • Secure cooler with simple strap over it
  • Secure damper with duct tape or glue
  • Attach 120mm fan to bottom using ducting shroud

Step 3: Build Control Box

Note: We're using a servo driver as a PWM controller, but this might be overkill. Future versions may use PWM directly from GPIO pins.

  • Use a project box or shoebox for now
  • Install 5 MOSFETs
  • Mount 12V power supply and 5V buck converter
  • Install Raspberry Pi with servo/PWM hat
  • Add LCD screen and control buttons

Step 4: Wiring (Advanced)

⚠️ Warning: This involves electrical work. If you don't understand electricity, wait for our detailed version or consult an electrician.

Key Wiring Connections:
  • 12VDC → 5VDC buck converter
  • 12V+ → All 12V components
  • 12V- → Pi GND
  • 5VDC → LCD screen & Pi
  • PWM 0-2 → Fans and cooler
  • GPIO 17, 27, 22 → Control buttons
  • GPIO 24-25 → Additional components
  • I2C → LCD, SHT30, BME280

Step 5: Software Installation

Our code is currently in a private GitHub repository. We'll make it public once we finalize the account details.

  • Clone the Danktronix repository
  • Install dependencies
  • Configure your specific setup
  • Subscribe to our software service ($19/month)

Software Subscription

What You Get:

  • ✅ Access to all proven drying algorithms (Cannaball, 60/60, Custom)
  • ✅ Mobile app for remote monitoring and control
  • ✅ Regular software updates and new features
  • ✅ Community support and troubleshooting
  • ✅ Access to our knowledge base and best practices

DIY Software License

$19/month

Full access to Danktronix software ecosystem

Subscribe Now

Ready to Build Your Own Dankubator?

Join the DIY revolution and create professional-grade automation for a fraction of the cost.